
A fresh surface.
A better-looking room.
When patches and widespread imperfections need more than spot repairs, skim coating can create a more consistent surface. Start with an assessment of your walls and the finish you want.
Share a few project details. Photos help us plan the next step.
“I painted myself to save a few bucks but the drywall was very smooth.”★★★★★ Patrick Lee · Google review excerpt
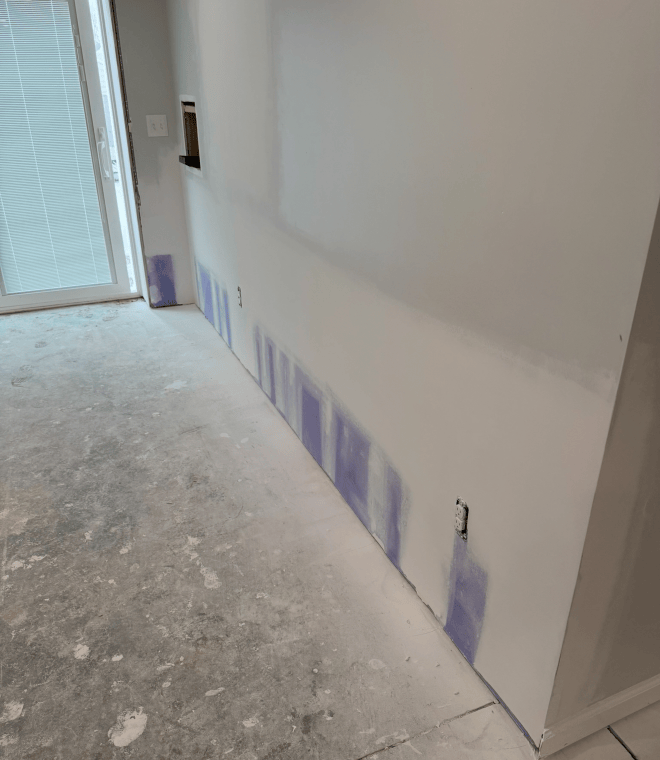
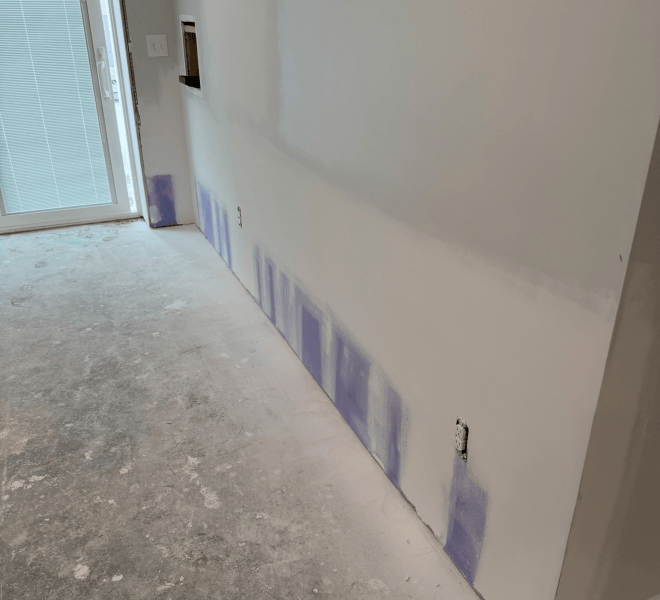

Drag to compare a real WPS project. Original project photographs; viewpoints differ.
Know who you’re trusting
with your home.
A better-looking room matters. So does the experience getting there. Start with real work, a clearly defined scope and a team that keeps the next step visible.
- See examples of the finish before you decide.
- Agree on the repair area and finish responsibility.
- Review the completed scope at the final walkthrough.
The right preparation for the finish you want.
Start with the condition of your space and the result you want. We define the work from there.
Years of patchwork?
Multiple repairs can leave different heights and textures across the same wall.
Widespread defects?
Ridges, shallow damage and inconsistent finishing can make localized repair inefficient.
Reducing texture?
Skim coating is often part of the system used to move a suitable textured wall toward a smoother finish.
Explore this service ↗A finished room is the goal.
Clarity comes with it.
Your project should feel managed from arrival to walkthrough. Watch the client view as you scroll.
You are not left wondering.
Every WPS project comes with a client view: when we are on the way, what is finished, where each room stands, and a photo of every wall before and after.


Real EST2TRACK screens from a real WPS office job. Client details are sample.
The finish matters.
So does how you’re treated.
Selected excerpts from customer Google reviews saved on the WPS website.
“The walls look great. And he cleaned up any mess as he went, which was very appreciated!”
Google review · August 2025
“From full details of days work, to next level communication, Devin went above and beyond what I expected.”
Google review · February 2025
“The work was done to a very high standard in a really short time frame.”
Google review · October 2025
Four steps.
A clearer way forward.
Evaluate
We inspect the existing wall, repairs, texture and substrate condition.
Prepare
Required repairs and surface preparation are handled before the skim coat is built.
Coat and Refine
The surface is skim coated, dried, sanded and checked for consistency.
Final Handoff
We confirm the wall is ready for primer and paint or continue into painting if included.
A few things
worth knowing.
Does skim coating make every wall perfectly flat?
Skim coating improves surface consistency, but existing framing and substrate conditions still matter. The goal is a cleaner, more uniform finish based on the condition of the wall.
Can you skim coat over texture?
Sometimes. The texture, bond and wall condition need to be evaluated first. Preparation or repair may be required before coating.
Do you paint after skim coating?
Interior painting can be included when it fits the project. The estimate will clearly state whether the scope ends paint-ready or includes primer and paint.
Find out what your walls need to look right.
Tell us what needs attention. Get a clear conversation about the scope, the finish and what happens next.
Start with your project detailsGet an estimate